Thursday 18 April 2013

The seamstress that inspired me

I don't know if I have mentioned this yet, but my mother is a phenomenal seamstress.

I'm a little bias because she is my mother, but anyone who knows this wonderful lady will agree with me!

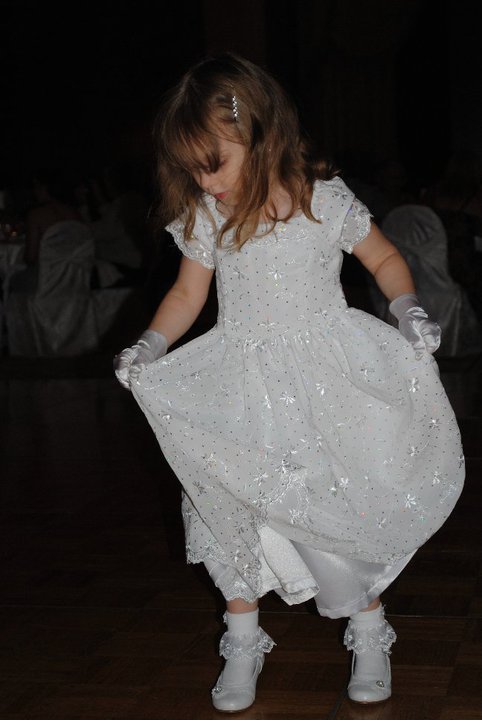
(flower girl dress that my mom made for Abby for a friend's wedding)

She has made so many outfits that were a critical part of my siblings' and I's childhood, from Halloween costumes to prom attire. Most recently, amid the hundreds of dresses she has made for my sister, she also made my wedding dress and most of my family's clothes for my wedding.


I know most of us look up to our parents, and I am definitely one of those people! My mother is my inspiration for learning how to sew and improve my talents that were handed down by genetics, as well as daily observation of a fantastic seamstress.

I have always been proud to wear the clothes my mom has taken the time to make for me. I can't say Abby will feel the same about me, but I can try!

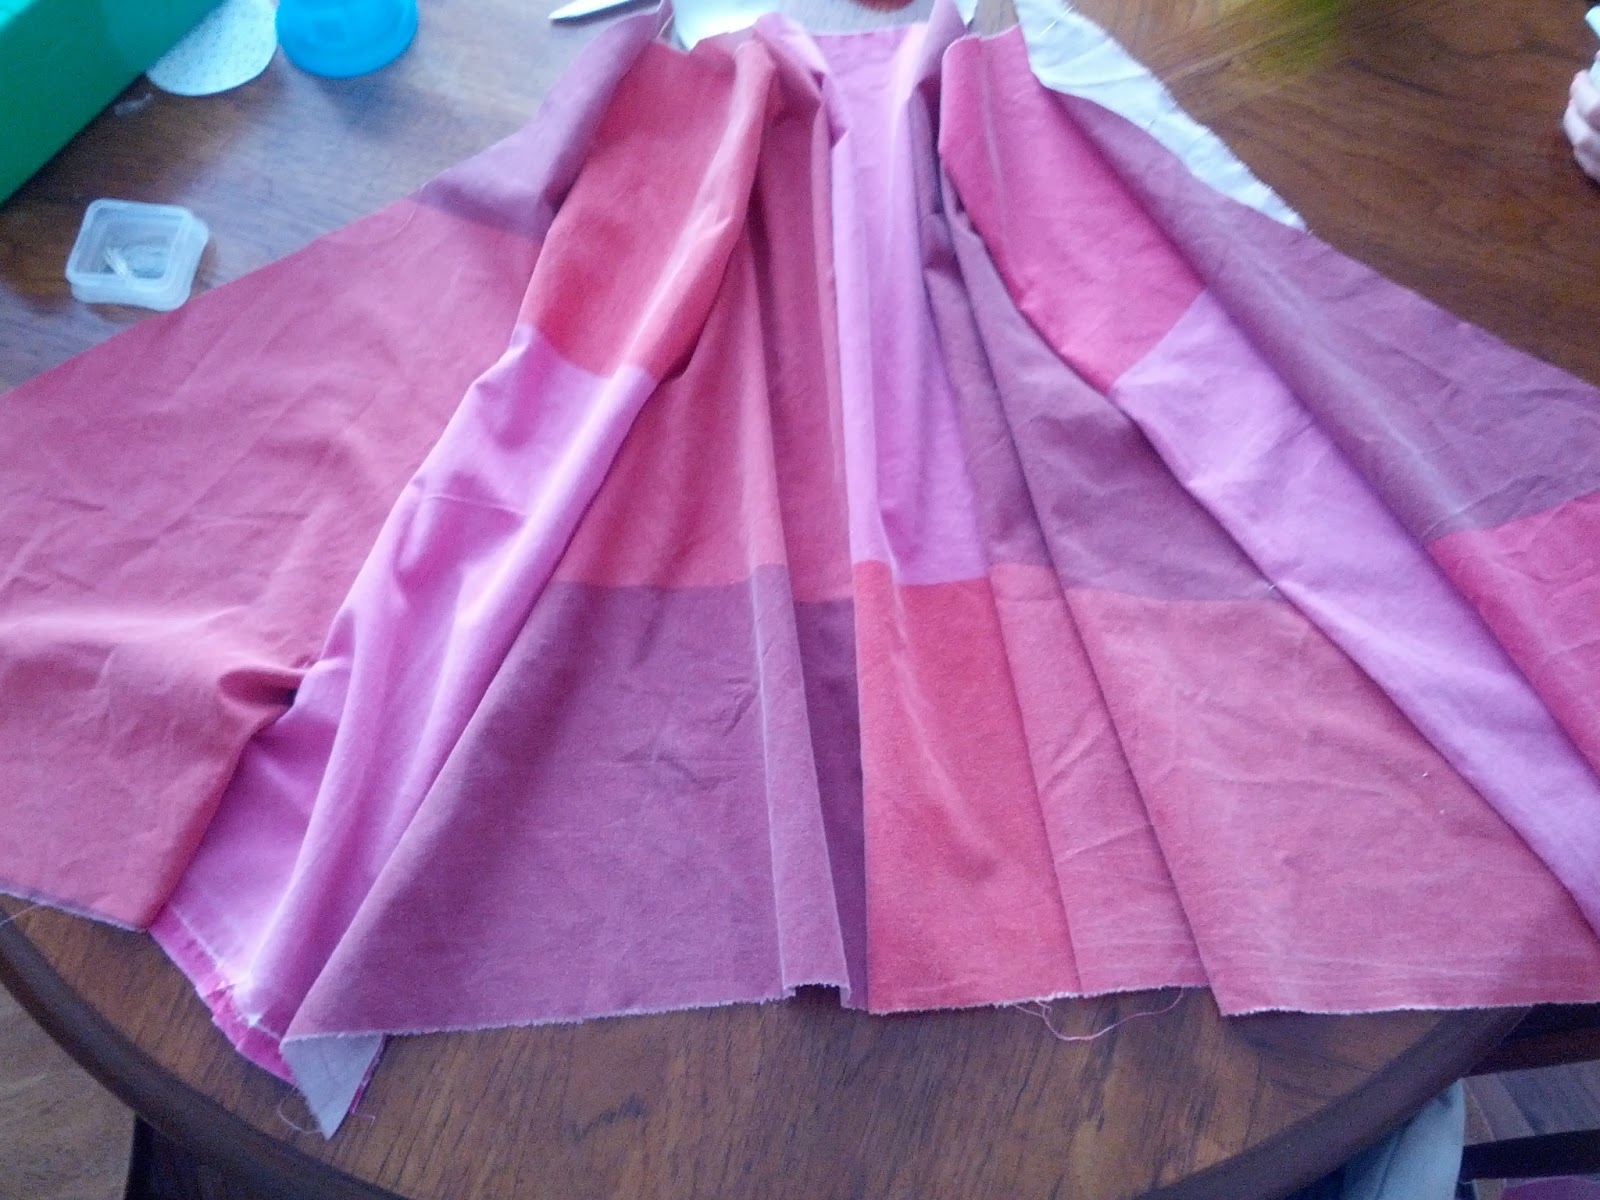
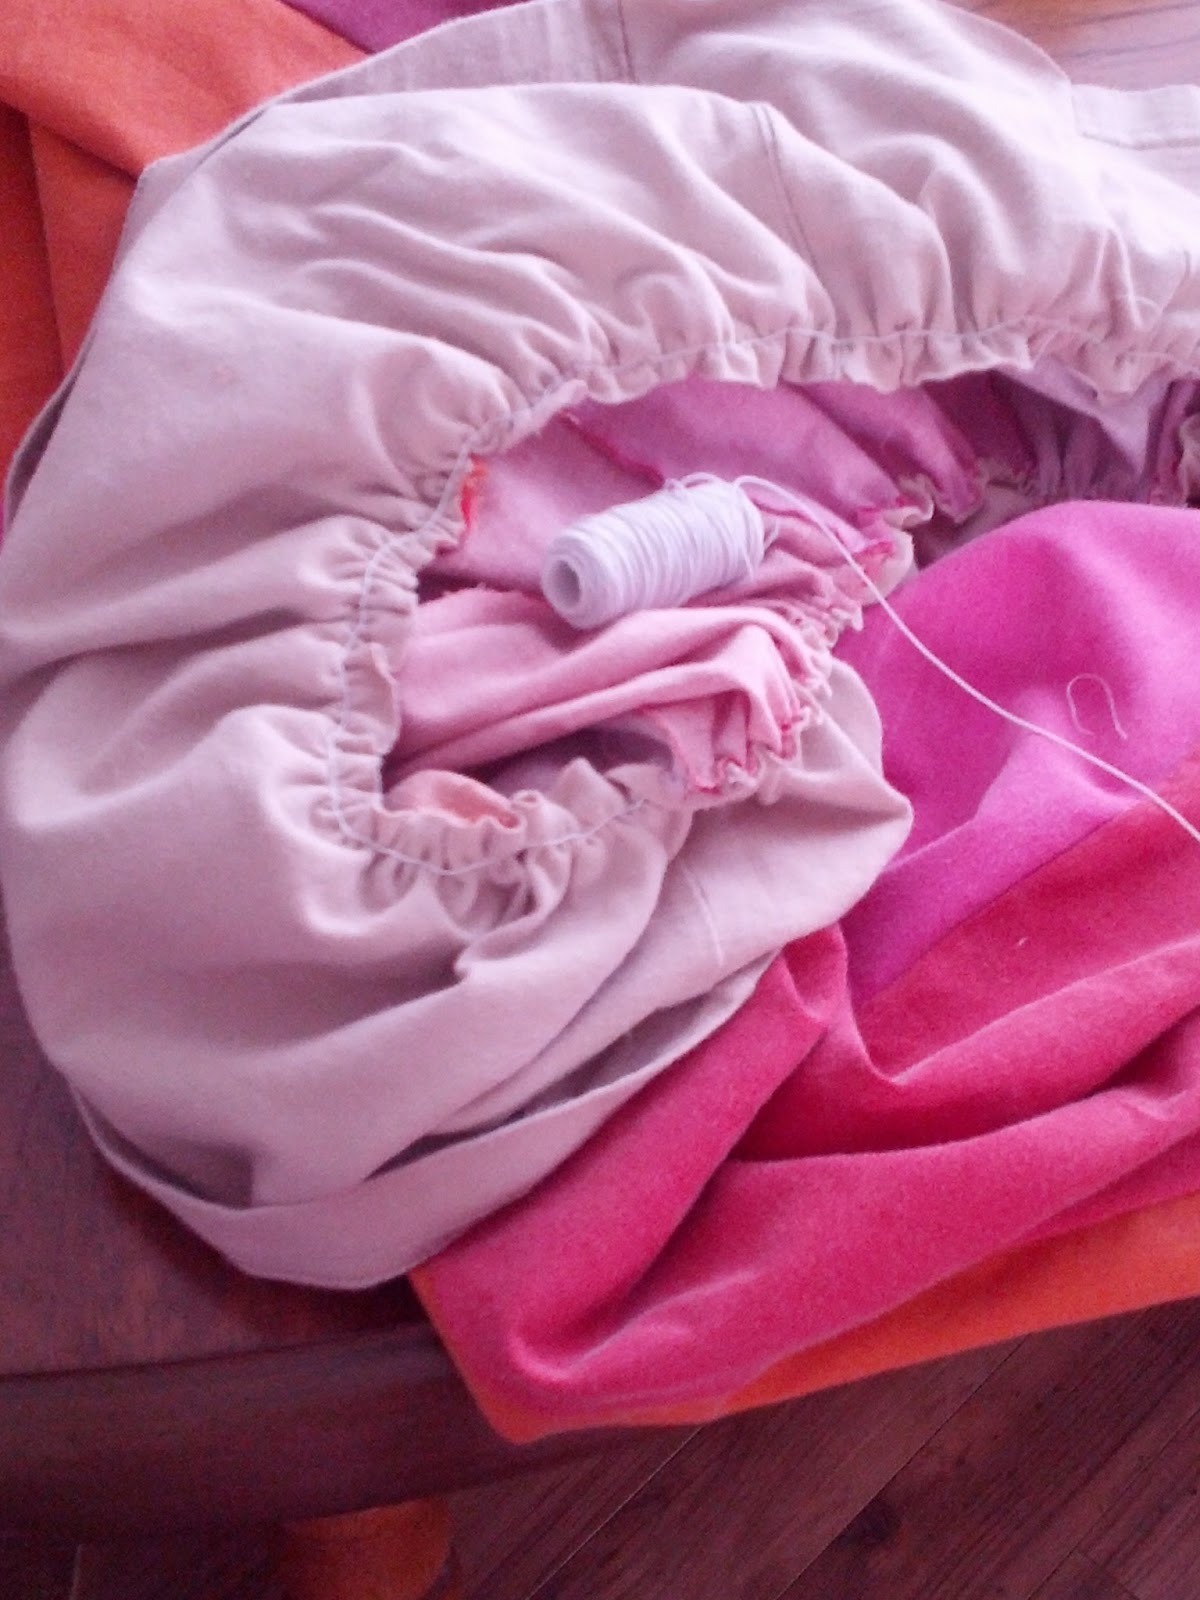
Reduce, reuse, and upcycle. 
On my way to being the kind of seamstress I can be happy with.

Thanks mom!


Daily Random Fact: The highest-paid Victoria’s Secret model of all time is Giselle Bündchen. At one point, she was earning nearly $5 million a year.

Friday 5 April 2013

Duvet Cover to Skirt : Abby edition

I started off with the intention of making a ruffle skirt for Abby, but changed my mind after seeing a ton of tutorials for a pillowcase dress.

A skirt would have had to be a lot more precise and that's just not my style, so I took the easy way out and made this pillowcase dress (which was inspired by Anneliese at Aesthetic Nest)..


It was super easy to make!

I roughly measured a chunk of the duvet cover to Abby's body, under the arms, and ripped it down until I had the approximate length.

Next, I folded it in half and ironed the entire piece to get it flat and create a seam on the side that was just folded. Once that was done, I cut a slit on the one side that wasn't open, to create an armhole. I ironed the pieces in a small triangle shape, instead of a 'u' shaped armpit.

Easy way out - I warned you!

Then, I sewed the one side shut, up to the armpit hole. I used a zigzag stitch to sew the armpit part because I knew the stitch would be seen and I thought that I would make it a little more fun!
Once I had sewn the armpits, I ripped 6 pieces of fabric, about 1/2 inch wide, and made 2 braids, then threaded them through the top pieces, and sewed them together.  
Looking back, I could have done 1 long braid and sewn the ends together - silly me!

I recommend this dress to anybody! 
If you have a large piece of material that you would like me to turn into a pillowcase dress or shirt - bring it!

Daily Random Fact: Himalayas means "abode of snow".

Duvet Cover to Skirt : Mel edition

Spring is here, so skirts are on the menu!

I have given myself a crafting challenge! I will not buy anything for crafting purposes until my birthday - that's 5 1/2 months - I think I can do it! It's going to be a good clean up/motivation to finish projects! And I'm ridiculously motivated to sew!

It may have to do with the fact that my sewing machine is fixed, or the fact that I want to re-purpose everything in sight, or the fact that spring screams skirt weather - I think it's a bit of everything! 

Side-note.. I even set up a temporary sewing station! 


Seriously, how great are skirts?! I know not every girl likes wearing them, but who can argue with the comfortable ones?!

Well, recently, Mel was donating her IKEA duvet cover (that I'm pretty sure half of the population owns, including myself) and I snagged it before she had the opportunity to give it up - phew! We decided that I should make a matching skirt for her, Abby, and I (and maybe a doll) for our annual family pictures.

So, I started with Mel's skirt because I had quite a vision - different colored panels and triangles to create a fun, flowy skirt. 

I ripped the panels, since the sheet is cotton, to get the straightest edges possible. Then, with Mel's help, I folded some of the large rectangles and cut them down the middle in an angle, to get 2 triangles. 
Next, I dusted off my iron and put it to good use! I ironed every rectangle and triangle. 
Once everything was flattened, I pinned the front pieces together, and the back pieces together. 
For the back piece, I used an equilateral triangle because it was my best guess as to how to join the triangle pieces.

Once everything was pinned, I began sewing everything together - the best part! 
After that, it better resembled the finish product, so I ironed a seam allowance, and sewed it. I ended up using all beige thread because i don't have any other color thread besides blue and I think the beige is better in this case! 

The final part was sewing the waist band on. 
Mel had an old shirt that I used as the waist band. I cut the bottom half of the t-shirt, pinned it while stretching it out to the top of the skirt, and sewed it on using elastic thread. 

All in all, this skirt was pretty easy to make! And lots of fun! 
And of course, super cute!
See?!

Bring me some material for an adorable spring skirt!

{Daily Random Fact: Las Vegas means "The Meadows" in Spanish.}